CYANOGEN ON NEXUS 5 ROOT
Hi , this is a different post . Today I’ll show how we can root the nexus 5 with the cyanogen Mod
Please understand that if you don’t have minimal computer knowledge will be little difficult , but I think I made it easy to follow
REMEMBER THIS PROCESS ERASES ALL THE DATA OF YOUR PHONE AND YOU WILL GET ROOT PRIVILEGES ON YOUR PHONE
Here some info about what’s root process : http://www.androidcentral.com/root
Any doubts you can post a comment


On this guide we used Windows 8.1 Operating System ()
All tools uploaded at my public onedrive , otherwise you can download from here
- Android Studio http://developer.android.com/sdk/index.html
- The Cyanogen mods 4 nexus 5 ( download)https://download.cyanogenmod.org/?device=hammerhead
- Java SE development kit http://www.java.com
- Nexus drivers (google usb driver ) http://developer.android.com/sdk/win-usb.html
- Google Play Apps : http://wiki.cyanogenmod.org/w/Google_Apps
- Recovery Image : http://download2.clockworkmod.com/recoveries/recovery-clockwork-6.0.4.5-hammerhead.img
On the sevens it onedrive you can get all the tools
https://onedrive.live.com/redir?resid=9C79A192DBC24FE4%2111368
In this case I choose Cyanogen last Lollipop nightly !!! you can choose whatever you want :D:D
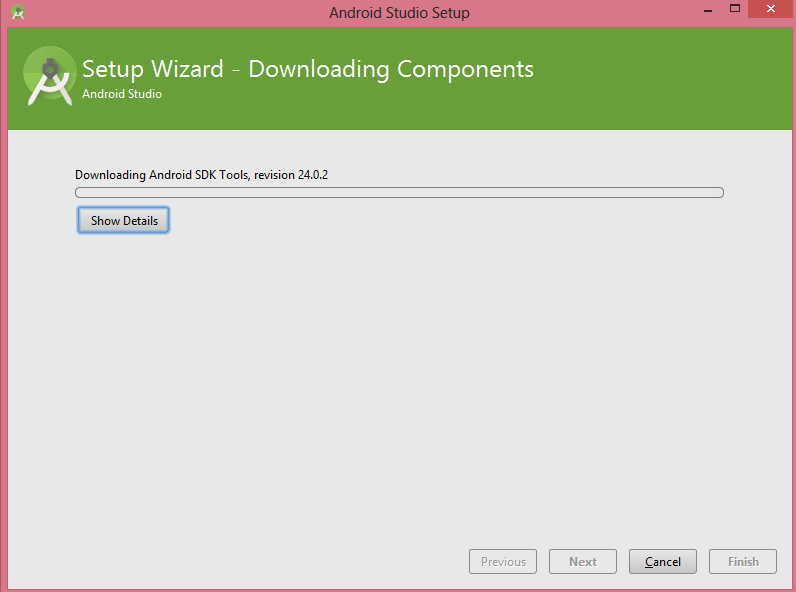
1.Installing the android studio
Download the kit , and install it . It’s easy only next.
2.Locate the platform tools and read some wiki about it ( I copied on d:\ drive )
search on the disk for the app “fastboot” ( in my case are installed on the user folder “appdata/local/android….”

3.Read some wiki about the ADB tool and Fastboot ( these 2 executables are very important )
Some wiki : http://wiki.cyanogenmod.org/
ADB tool ( Android debug bridge )
Is a development tool that facilitates communication between an Android device and a personal computer. This communication is most often done over a USB cable, but Wi-Fi connections are also supported. adb can also be used by developers to communicate with a virtual android machine running on the computer.
Fastboot
fastboot is a small tool that comes with the Android SDK (software developer kit) that can be used to re-flash partitions on your device. It is an alternative to the recovery mode for doing installations and updates.
Because fastboot mode can start on your device even before Android loads (and can even run when Android isn’t installed at all), fastboot mode is useful for updating the firmware quickly, without having to use a recovery mode. In fact, it’s frequently the preferred way to initially install the recovery image on many devices. Fastboot can also be used for developer operations like unlocking the bootloader of Google’s Nexus devices.
Not all devices support fastboot, but many do.
There are two “sides” to using fastboot– the computer side and the device side. Typically your device first is connected to your computer via a USB cable. Then you boot to the “fastboot mode” on the device. On your computer, you then run the fastboot tool to issue commands. Please note that fastboot commands will ONLY work while the device is in fastboot mode.
4.Activate the DEBUG USB OPTION ( developer options )
Example lollipop 5.0
http://www.kingoapp.com/root-tutorials/how-to-enable-usb-debugging-mode-on-android-5-lollipop.htm
Example Kit kat 4.4
http://www.gottabemobile.com/2013/11/10/enable-developer-options-nexus-5-kitkat/
and once you’ve put the Phone on Debug mode ….
5. Install the USB driver ( ofc admin priv needed ) & activating developer tools / usb debug
![]()
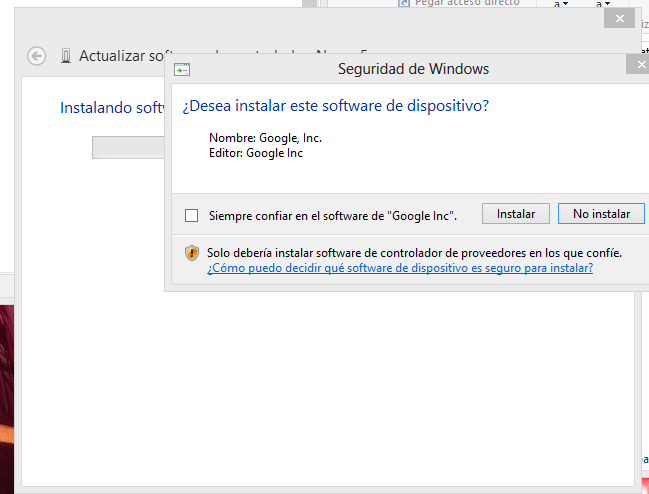
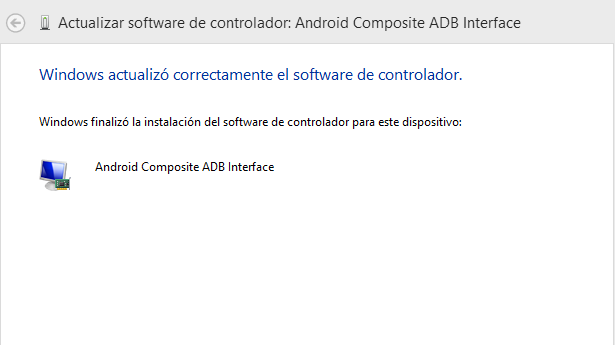
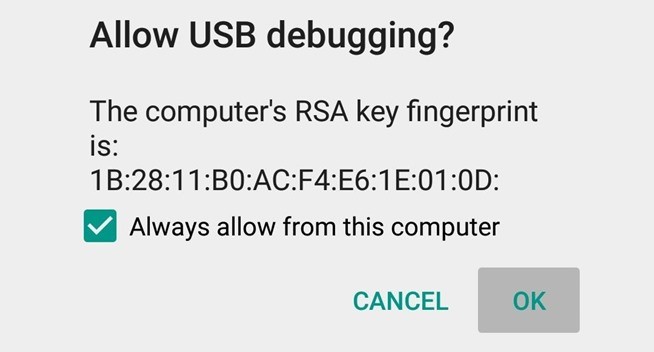
Allow the USB mode on your nexus screen will appear this
6. Going to the bootloader stuff (prepare for the party)
So… Now its time to open a CMD.exe where you let the folder of the platform tools (STEP 2 )
On this folder I truly recommend to put the cyanogen image , the custom recovery image (IMG) & the google apps tools , etc. your choice!!!
( WINDOWS +R / Execute cmd.exe / CD %folderoftheplatformtools% ) -> Open the CMD ( basic )
Run the command adb reboot bootloader ( This will put the phone on the Bootloader )

You will see something like that on your phone

So now You are on the bootloader , next step is to assure the connection with the following command( you will see a large number , that means that all is OK :

Run the following command : Fastboot oem unlock ( A disclaimer will appear on your nexus 5) , you must accept it with the “yes option”, Pressing the power button should confirm your selection( THIS WILL ERASE YOUR PHONE REMEMBER )
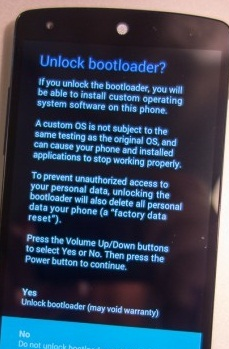
If the device doesn’t automatically reboot, reboot it from the menu. It should now be unlocked. You can confirm this is the case if you see an unlocked icon at the bottom of the Google boot screen during reboots.
Since the device resets completely, you will need to re-enable USB debugging on the device to continue( STEP 5)
7.INSTALLING THE RECOVERY IMAGE
Read first Little info about the recovery http://wiki.cyanogenmod.org/w/All_About_Recovery_Images
Download the recovery image :
http://download2.clockworkmod.com/recoveries/recovery-clockwork-6.0.4.5-hammerhead.img
Connect the nexus to USB in developer mode
Enter the following command on CMD again to enter into the bootloader: adb reboot bootloader

Make sure the fastboot binary is in your PATH or that you place the recovery image in the same directory as fastboot.( )
Verify the connection again with the following command : fastboot devices
Run : fastboot flash recovery your_recovery_image.img ( this will install your custom boot recovery image)

Once the flash completes successfully, reboot the device into recovery to verify the installation. Boot to recovery instructions:
Once the flash completes successfully, reboot the device into recovery to verify the installation. Boot to recovery instructions: With the device powered down, hold the Volume Down and Volume Up buttons. Then press and hold the Power button until a boot menu appears. Navigate using the volume keys and select RECOVERY using the Power key.
If you enter on the recovery mode you will see something like this :

8.INSTALLING CYANOGEN MOD
NOW IS THE TIME ( Ensure that cyanogen mod.zip is on the tools folder )
If you have windows 8 follow this guide first
http://www.android.gs/download-and-install-google-nexus-5-usb-drivers-adb-fastboot/
follow this guide in WINDOWS 8 case
http://donandroid.com/how-to-install-adb-interface-drivers-windows-7-xp-vista-623
Prepare the scenario with Fastboot and adb like the past steps
With the device powered down, hold the Volume Down and Volume Up buttons. Then press and hold the Power button until a boot menu appears. Navigate using the volume keys and select RECOVERY using the Power key.
Download cyanogen mod(ZIP) if you haven’t yet
- Select wipe data/factory reset.( USE YES OPTION IN THE MIDDLE )
- Sideload method: select install zip > install zip from sideload. Follow the on-screen notices to install the package. The installer does not necessarily display an “Install complete.” message. You can tell the install is complete if there were no fatal error messages and you have regained control over the menu.
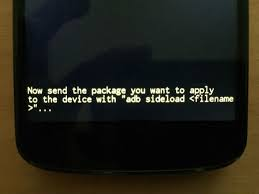
Execute the following command “adb sideload yourRom.zip”
Wait until process is done and you will have the Cyanogen loaded 😀
Example of a Cyanogen mod:

IF YOU NEED GOOGLE PLAY APPS FOLLOW THIS GUIDE TO INSTALL IT
http://wiki.cyanogenmod.org/w/Google_Apps
Enjoy!!!
