Needless to say what a nightmare…
I will post the steps I followed to complete this task in my environment
I can’t say that this will work on everyone’s 2003 R2 servers, but I hope that yes
Needless to say, you do not need to do the whole thing for Hyper-v; Just capture the VHD/VHDX and power on your machine afterwards, follow the entire process ONLY IF YOU WISH TO MIGRATE TO CITRIX 7.1 CU 2 ( tested environment)
Infrastructure :
CITRIX Xencenter SERVER ( VM final Destination )
 HYPER-V 2012 SERVER Standalone ( Making VM changes and testing )
I suggest using any server or machine with at least 300 GB space
Physical 2003 R2 Server ( if not R2 please update otherwise this is not possible )
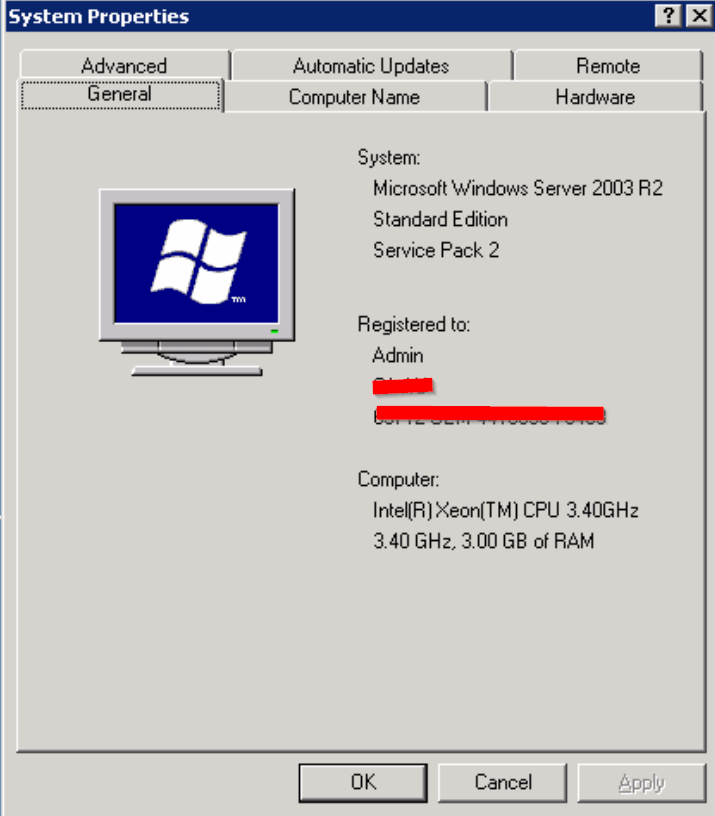
MACHINE TO CONVERT
1.Capture Source VHD with DISK2vhd of Sysinternals ( Using Volume shadow copy) –
Make sure you have: All windows 2003 R2 patches installed as good practice and compatibility reasons with Xencenter

Do not use VHDX if you are willing to import directly the image to Citrix!
Be aware the tool will create a dynamically expanding disk, it is preferable to convert to FIXED VHD for Citrix!
Also as shown … even if you only select C:\ only the dynamic expanding disk will be 78.15+195 = 273 of VHD !! ( that’s why we will convert to VHDX and reduce it )
THE MISSION
1. CREATE AN HYPER-V VM (GEN1) and attach the converted disk! ; DO NOT POWER IT ON FOR NOW !!
GEN2 ( has been not tested as I used 2012 server)
IF YOU WILL USE HYPER-V and NOT CITIRX YOU STOP HERE ATTACHING THE VHD/X and power on the VM
2. Mount the disk on Disk manager(VHD or VHDX), check no other partitions are there ( as shown there is only one) In my Case was taking an extra 195 GB due to the E:\ even though I was not selecting the E:\ Drive when converting
-Shrink /Expand, just make sure C:\ is the only partition and if there is more. attach later the VHD directly but for now, we going to do this.
3.Unmount the disk ( we understand all the partition tidy ups are done )
— OPTIONAL STEP– TO REDUCE VHD SIZE PRIOR CONVERTING TO VHD FIXED SIZE FOR CITRIX
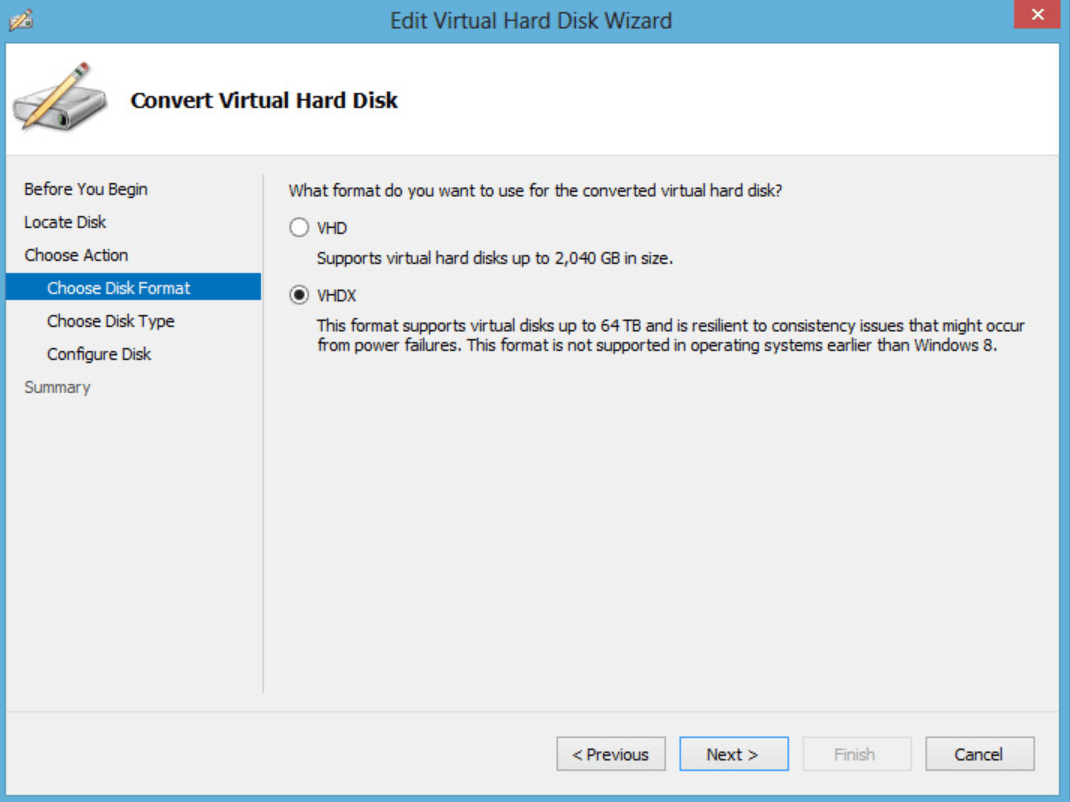
4. Convert to VHDX to save space (Optional STEP, as we will convert VHD DYNAMIC TO FIXED ) otherwise convert directly to VHD FIXED SIZE if that’s not a problem! but beware you will require the same space as the dynamic expanding disk size!
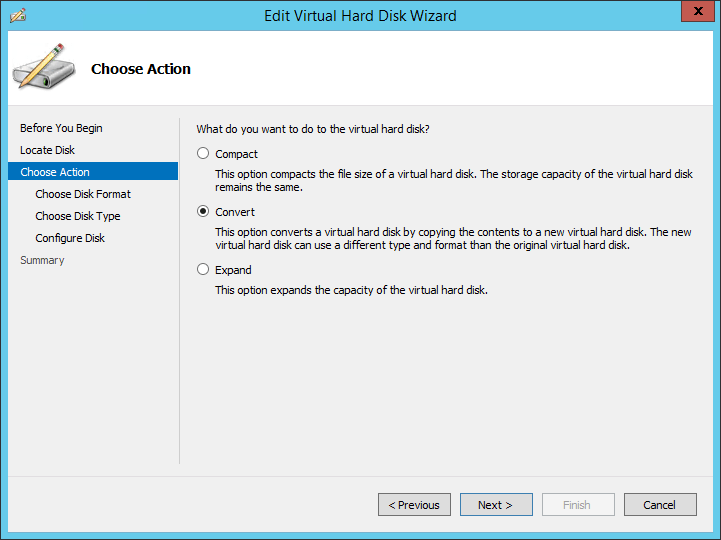
Once converted run the following to shrink the virtual disk size ( this is only available on VHDX disks!!)
Resize-VHD -Path ‘YOURVM.vhdx’ -ToMinimumSize
5. Once done as now we have the VHDX reduced; Now ! convert back to VHD which is CITRIX compatible!!
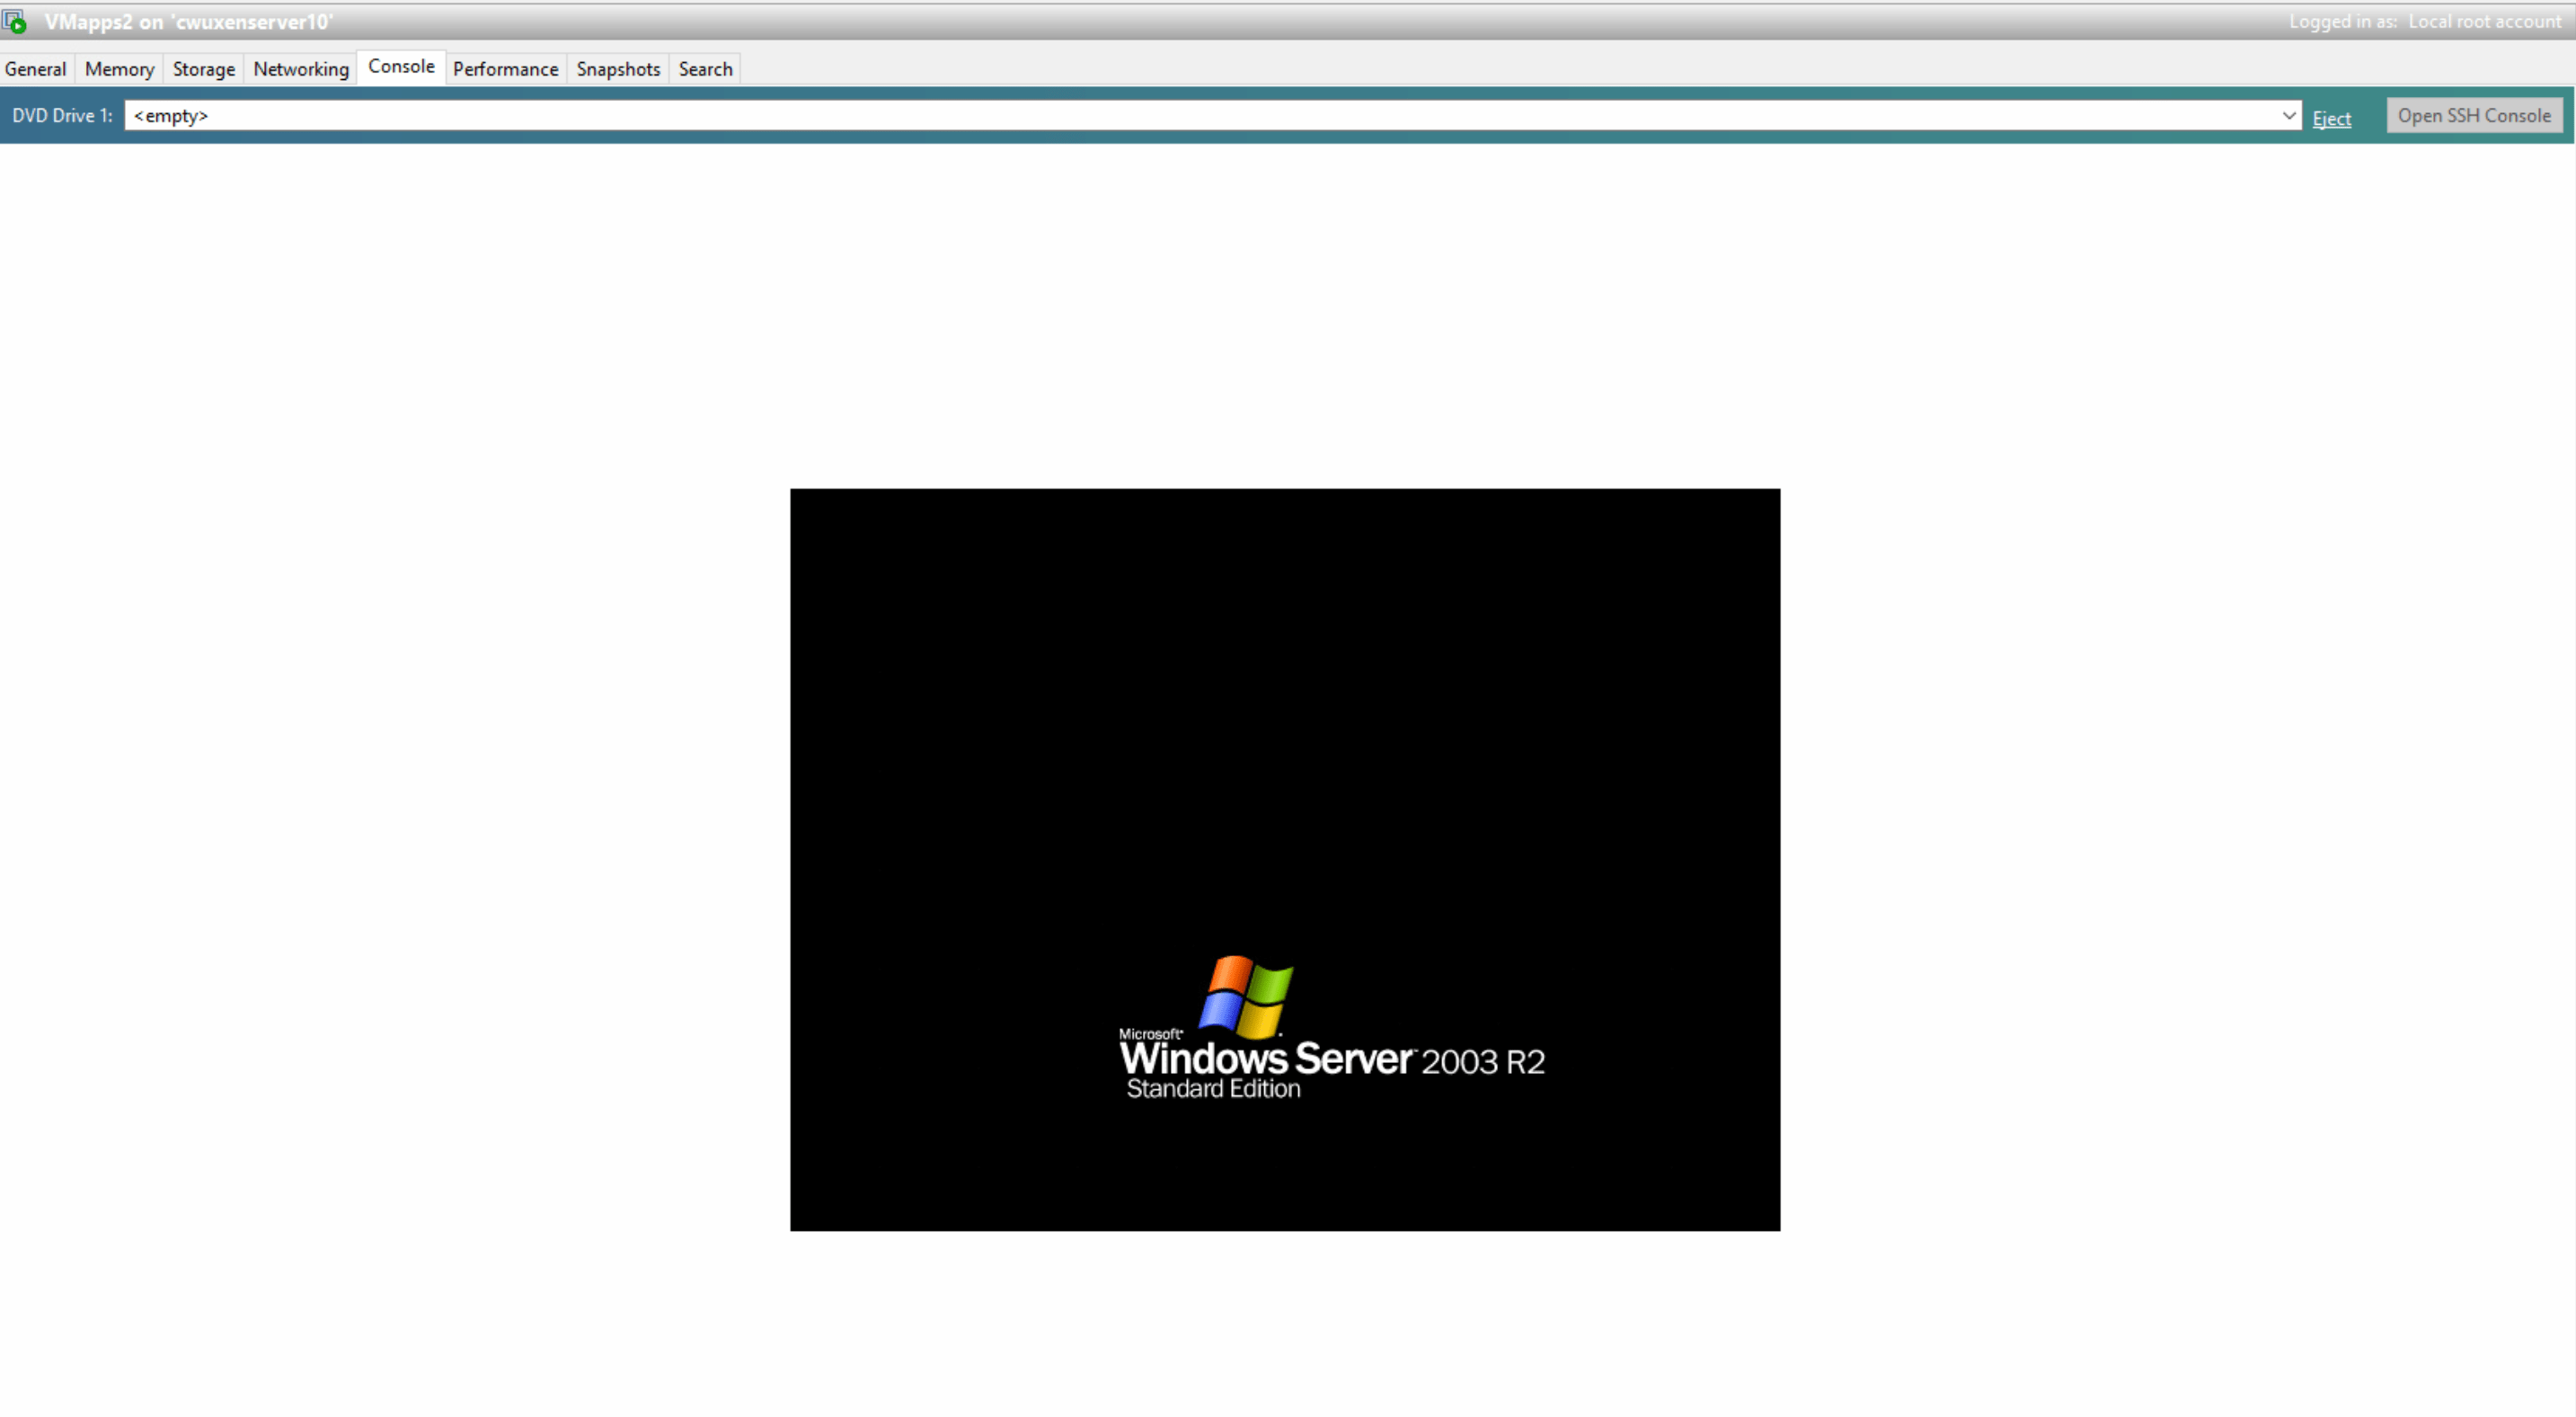
5. Power on VM on HYPER-V and make sure all is good, once checked Shut down the VM
GETTING READY FOR CITRIX !!
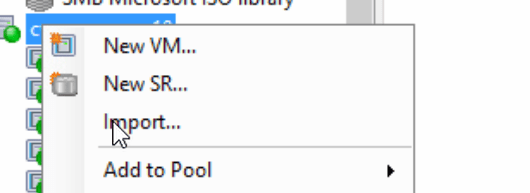
1. Get the ISO of operating system fixup for Citrix; This will appear automatically when importing any VM; so 90% someone migrated a VM before you and the iso is available in your shared ISO volumes as shown:
https://support.citrix.com/article/CTX222538

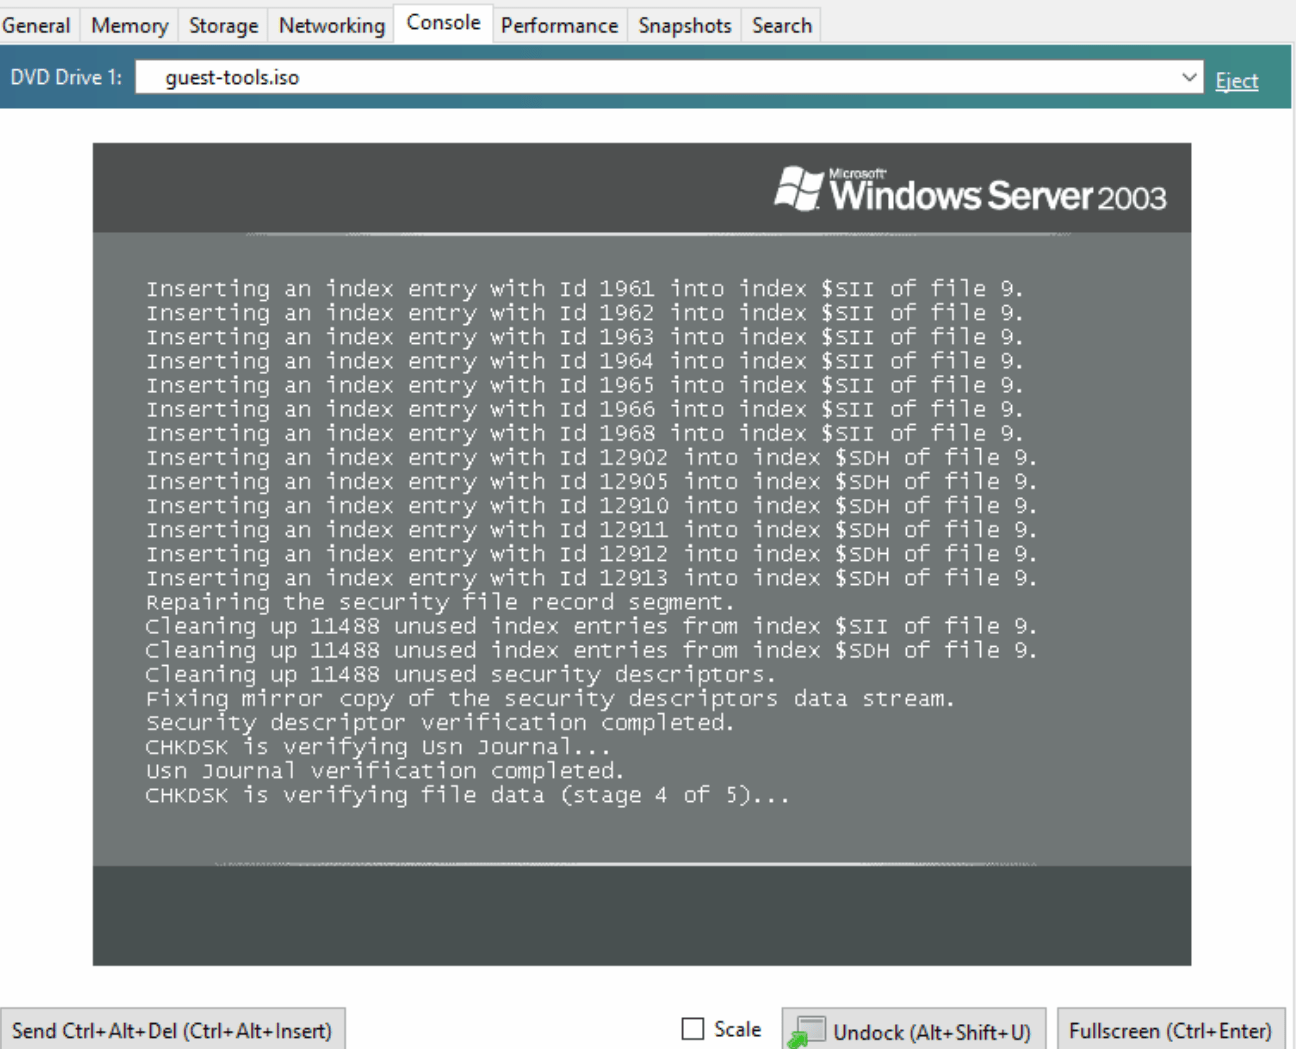
2. USE FIXUP ISO DIRECTLY ON HYPER-V PRIOR MIGRATING
Do it for saving time and problems, this way the VM will be migrated directly with all the fix-ups in place !!
I have found that the first boot the VM does not detect the fixup cd or can have problems, ensuring you transfer the VM with the fixup complete its a good point! and to be honest you can even use a Windows10 Hyper-V for this ;
Here is a display of the fixup running from Hyper-V :
FIXUP WILL POWER OFF THE MACHINE !! and can take from 20min to 50 !!

3. VM IS OFF AND FIXUP FINISHED ITS TIME TO MOVE TO CITRIX OUR VHD !!
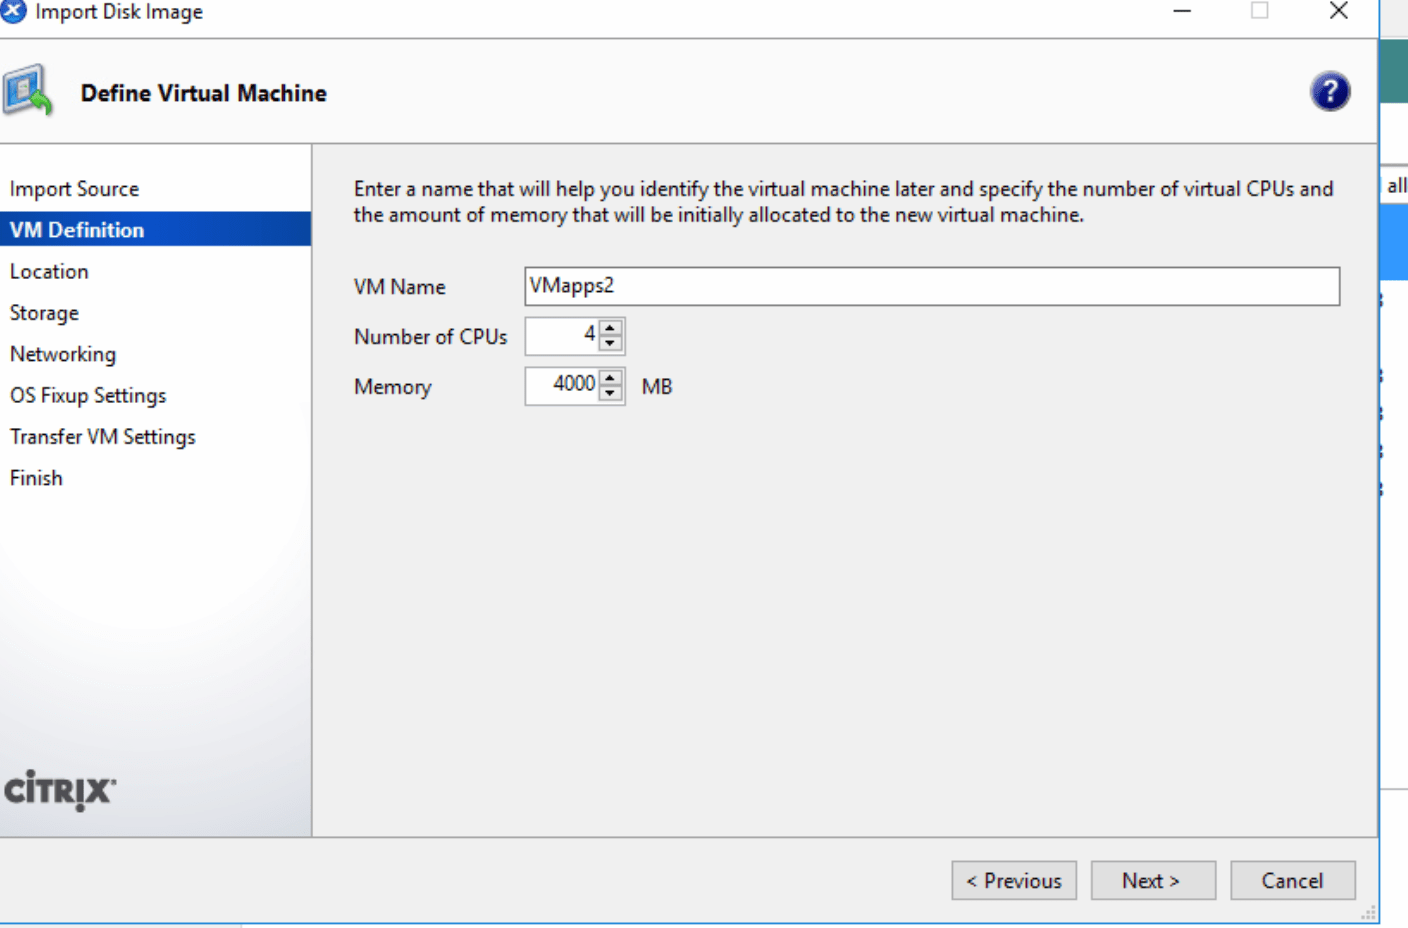
Import the VHD from xencenter as shown, use available repositories as normal, use the desired XenServer that will hold the machine; Make sure you have available storage !!
Define desired performance settings as CPU/ MEMORY
DO NOT USE FIXUP AS WE DID THIS WITH HYPER-V

4. IF NOT WORKING AFTER ALL STEPS ON CITRIX CHECK THE FOLLOWING :
PROBLEMS FOUND AFTER MIGRATION
-Blue Screen of NTFS.SYS
-Can’t log in because windows need activation
-Corrupted NTFS errors
Solutions:
LOG IN TO SAFE MODE ( START MICROSOFT INSTALLER SERVICE )
-Uninstall all antivirus software, ARRAY SOFTWARE (HP ETC)
Remember to follow this to enable MSI installer in safe mode :
https://support.eset.com/kb2098/?locale=en_US&viewlocale=en_US
When all the software is running smoothly, re-install AV software
this command will give you 30 days to re-activate your MS 2003 SRV R2 Copy
rundll32.exe syssetup,SetupOobeBnkAlso in regards, the NTFS remember to run check disk utility for all the drives prior to going live and also
Check anything that is highlighted on the event log after all the process
Cheers!
5. ENJOY YOUR NEW VM!! ( AND REMEMBER TO MIGRATE IT TO 2016 someday !! )