Download the deployment W10 Tool from Windows
We assume:
WDS is installed
ADK is installed
MDT is installed
You need an ISO in order to create a clean WIM image .
On The WDS server the newest ADK Version needs to be installed/ Also download the last ISO as shown


How to Convert install.esd to install.wim (Windows 10/8)
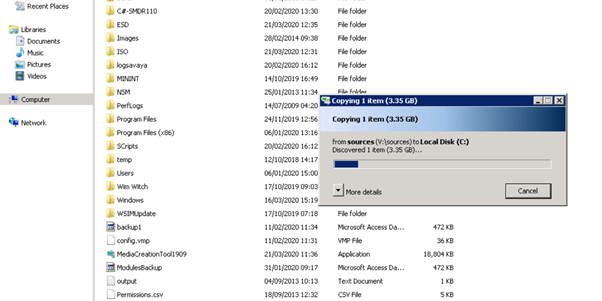
1. From the Windows installation media, copy the install.esd file from the “sources” folder (e.g. X:\sources\install.esd) to the root folder of drive C: *
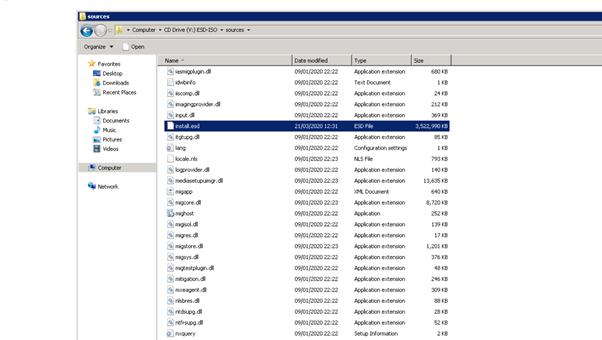
- Copy the ESD file to c:\ Drive ( important )
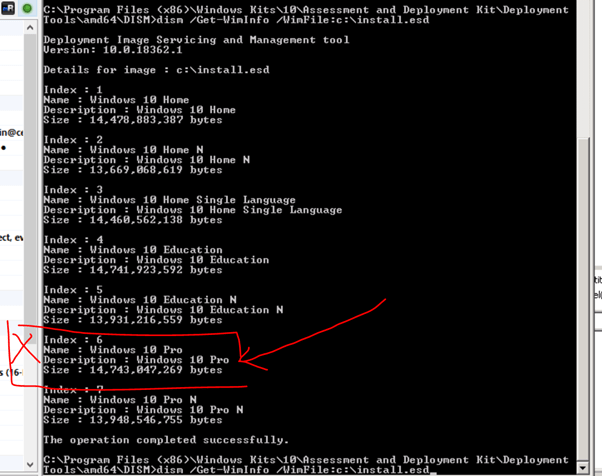
- Get info of the images & extract WIM ( make sure you go into this sourcepath to get the correct dism version )
C:\Program Files (x86)\Windows Kits\10\Assessment and Deployment Kit\Deploymen
Tools\amd64\DISM>
Run :
dism /Get-WimInfo /WimFile:c:\install.esd
This is the image that will extract, IN THIS CASE WE WANT THE IMAGE INDEX 6
Now we run
dism /export-image /SourceImageFile:C:\install.esd /SourceIndex:6 /DestinationImageFile:c:\install.wim /Compress:max /CheckIntegrity
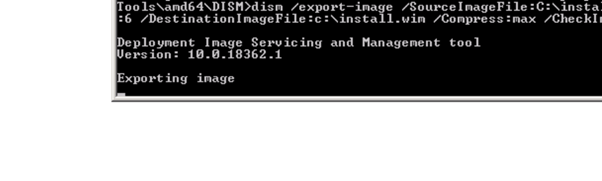
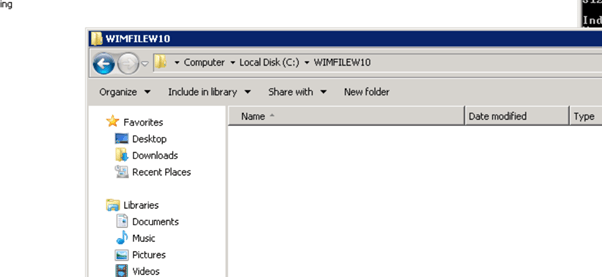
We will move after the process finishes to C:\WIMFILEw10
Adding the Operating System Image to WDS
- Once the last process finished we will integrate the WIM into the deployment share, in order to do so . Go to the deployment workbench and import the image as shown;
Right click on Operating systems section / Import Operating system


