
- I strongly recommend to NOT do this in a production enviorment
- This guidance is meant to create all the related resources after a deletion
- In this guidance , we do create a resource group to save the Snapshot , even deploying an ARM template would recreate the VM , we would be loosing the data as it would be a new VM
- The resource group will have to be recreated with the same name or another name
- You can use variables for the DISK part or delete that part in the ARM JSON ( this is not covered)
- You can use variables for the Password part or link it to a keyvault ( Not covered )
- You can restore the disk using a Recovery vault ( Not covered )
- Please do not delete recovery vaults… in production enviorments for this test… ( I know .. I know .. But I had to say it )
- This Guidance does not cover the basics to create a VM . It is expected you have created vms in azure before.
- Please even if you do this in a production enviorment DO NOT FORGET TO SNAPSHOOT THE DISK OF THE VM !!
Lets begin after the warnings!
Creating the VM
We have in this part also created a Resource group called SV-LNX-SRV1
among other options as region , image and size …

Disk and networking settings

Auto Shut Down enabled ( Save money )


— VM Created —
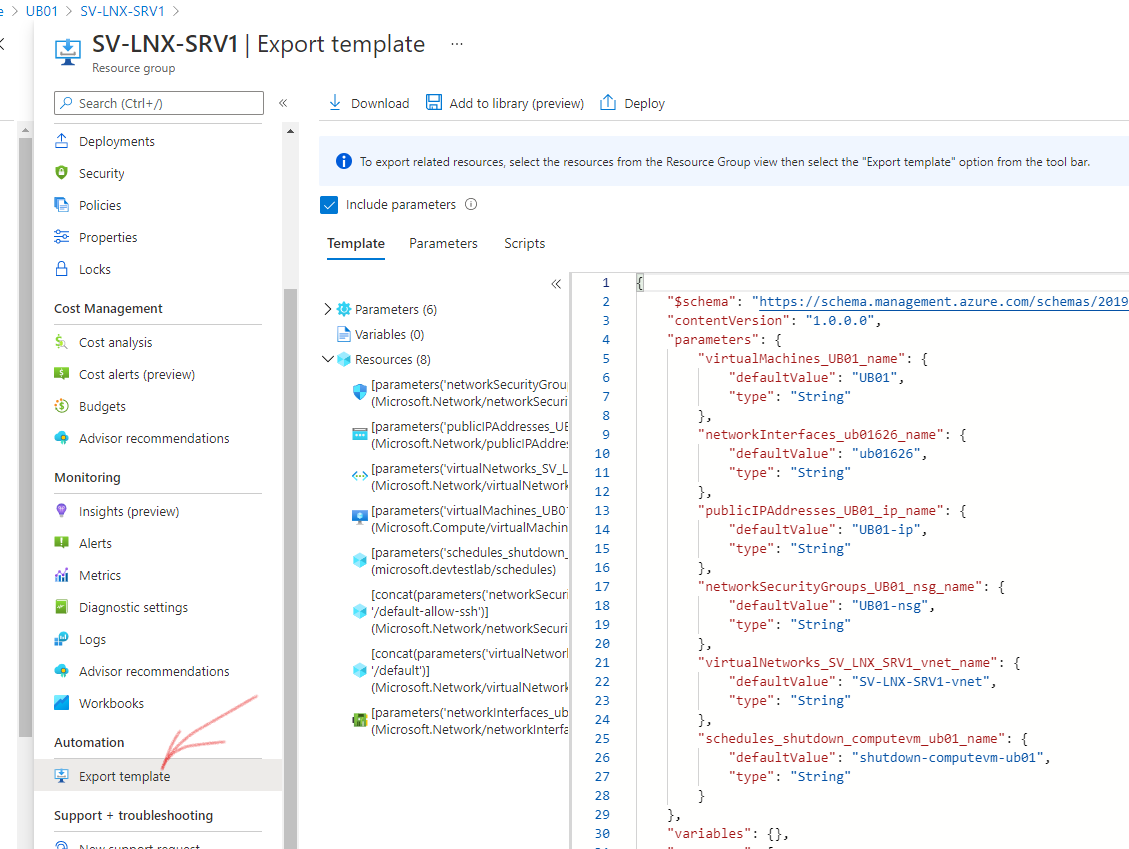
Now . we are going to Export the template of the whole Resource group . That includes a small change on the NSG where we have disabled SSH inbound

You can also see this change we have performed here in the activity log

You can backup the resource group now , hit into export template

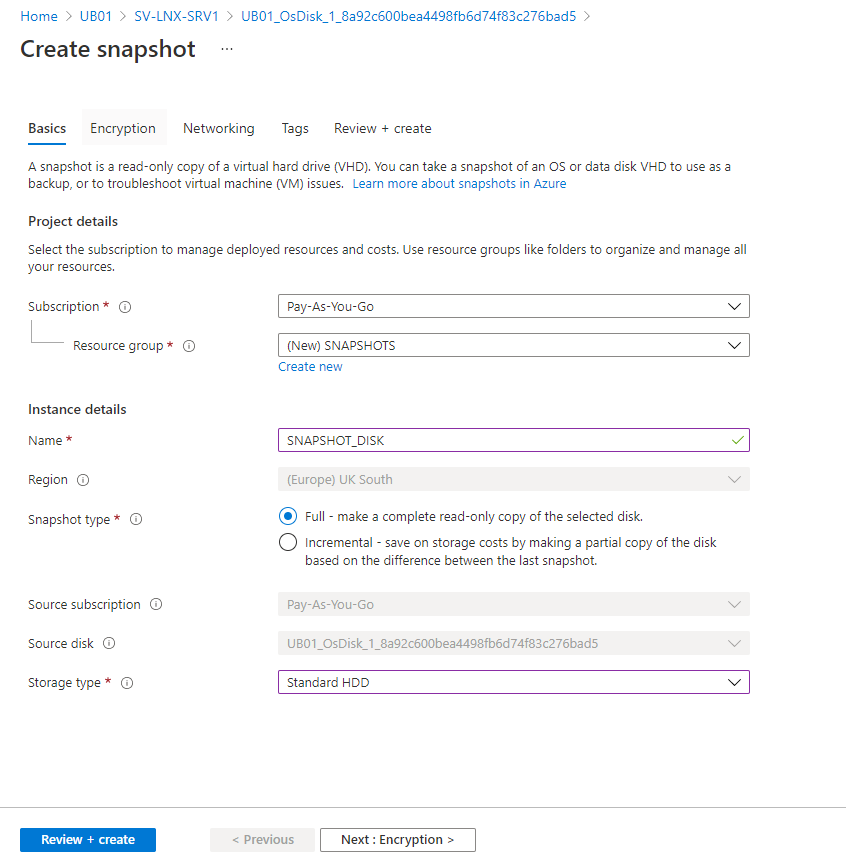
Now . We are going to create a separate resource group for snapshots ( as good practice ) , and snapshoot the VM DISK . Please do not ignore the snapshoot part!

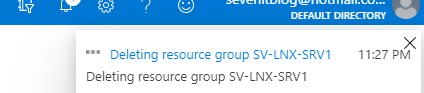
Now the DR test: We are deleting all resources! ( WOW! ) – DO NOT DO THIS WITH PRODUCTION ENVIORMENTS!

Recovering Phase
We will Redeploy the Resource Group !
head into the template menus , and redeploy the resource

Press ok when finished.
Press save again to apply the changes

We will hit now “Deploy”

As we explained at the begining of the guidance , the resource group needs to be recreated. When you are happy with the changes, hit on purchase!
Deploying the template.


The deployment will start

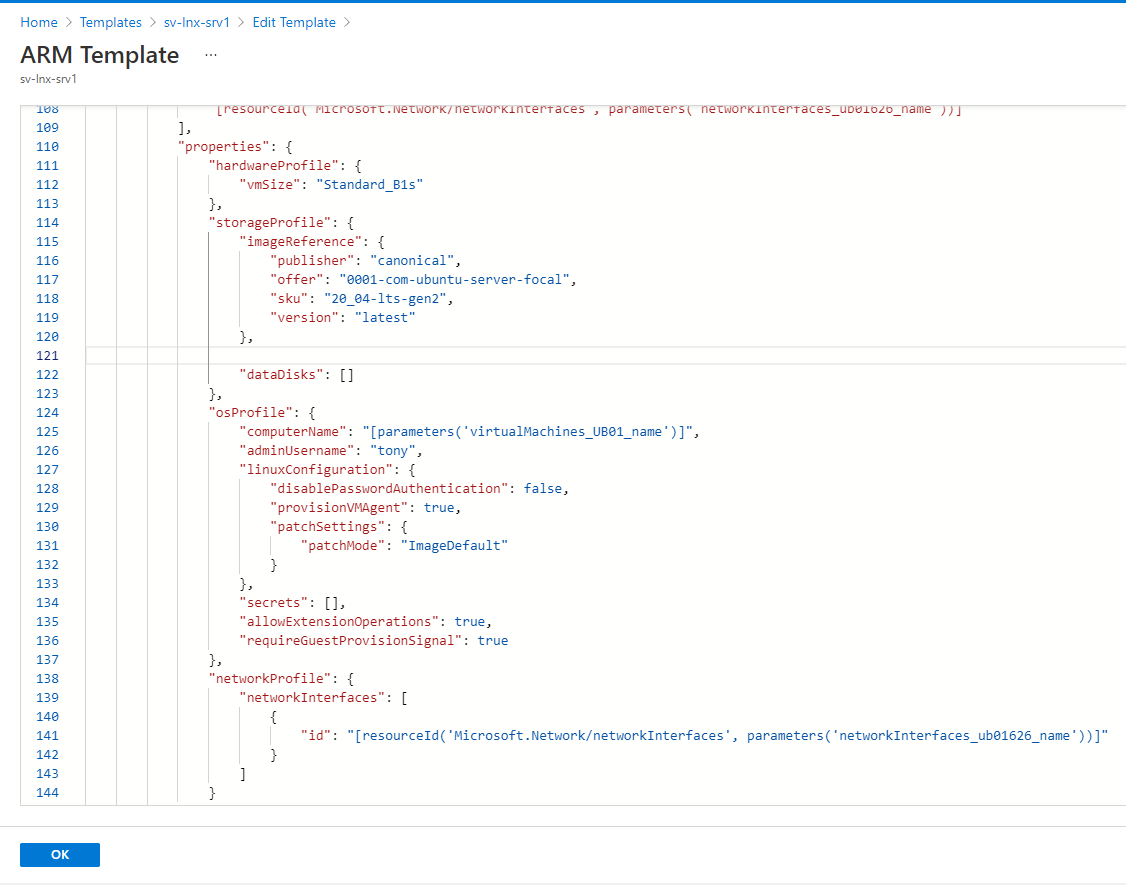
Review Results (Resolve Password and Guest errors ) – OsProfile Section
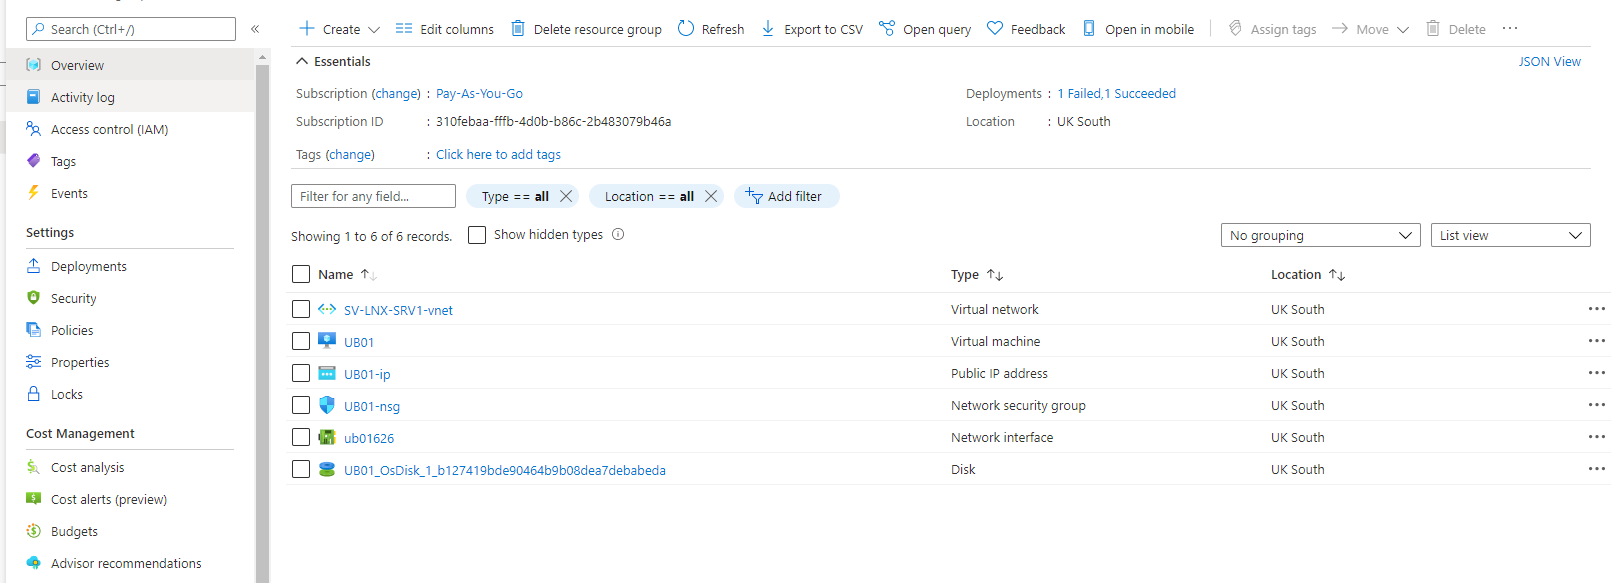
At this point you should see the previous resources recreated
If the VM fails with the following
error:”The property ‘requireGuestProvisionSignal’ is not valid because the ‘Microsoft.Compute/Agentless’ feature is not enabled for this subscription.
{
“status”: “Failed”,
“error”: {
“code”: “InvalidParameter”,
“target”: “requireGuestProvisionSignal”,
“message”: “The property ‘requireGuestProvisionSignal’ is not valid because the ‘Microsoft.Compute/Agentless’ feature is not enabled for this subscription.”
}
}
Remove the following line in the template and redeploy ( do not set it to false or enable just remove all the line)

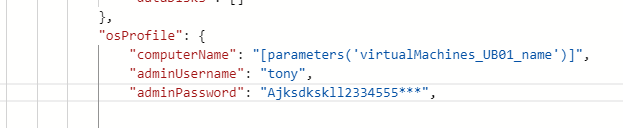
In order to resolve this well edit the template and fill the password!
We will add the following line in the “Osprofile”
“AdminPassword”:”Password”,
I recommend using variables or either Keyvault for Production enviorments in this step
Now we will try again to deploy. We can see that the deployment is now status “Succeeded”

All our Resources are back! , But of course we are missing THE DISK and we do not need the new one that we created!
Head now into the snapshots RG
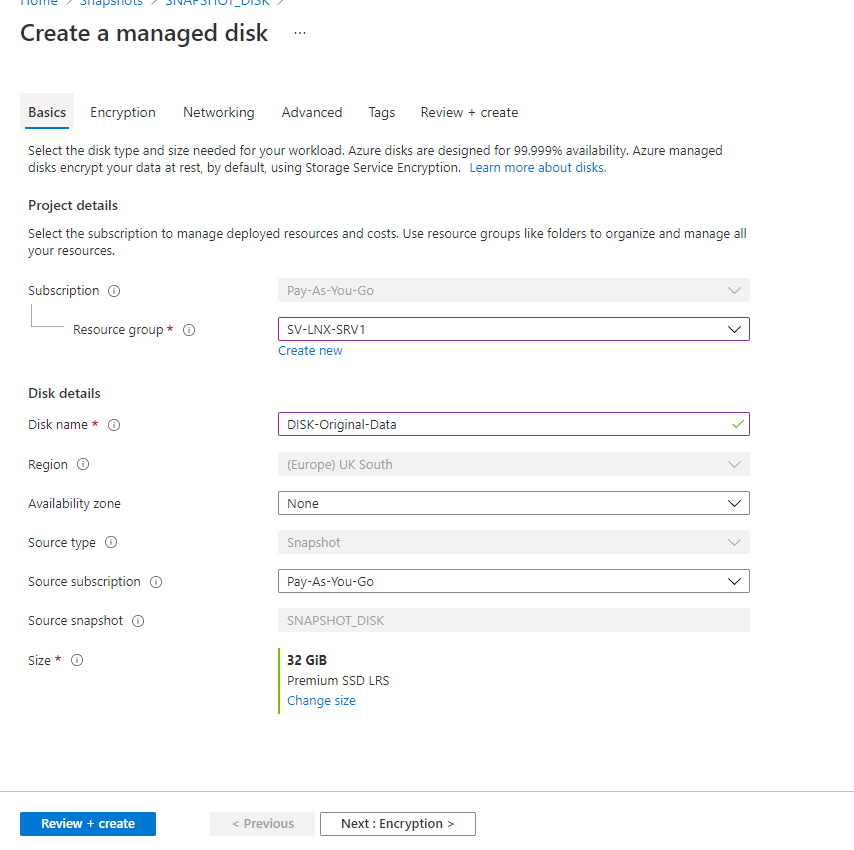
We will create a disk from the snapshot

Create the disk into the same RG that we have Restored
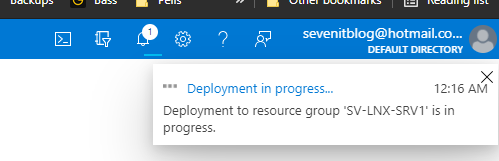
Deployment is now in progress…
STOP THE VM , and we will replace with the original disk that we got from the snapshot ( we also want the data back , remember?)
Click in “Swap OS DISK”

we now assign the orignal disk

The job now is complete, you can remove the DISK created with the template and enjoy your Restored VM/ DISK

